-
|
/
Save up to
%
Save
%
Save up to
Save
Sale
Sold out
In stock
$5 U.S. Flat Rate Shipping — Free Shipping For U.S. orders over $100.
Facepaint.com
Country
USD $
AUD $
CAD $
EUR €
JPY ¥
GBP £
USD $
Login
0
Cart
Shop Categories
Face Paints
Body Paints
Makeup
Glitter & Gems
Tattoos
Stencils
Brushes & Sponges
Balloons & Accessories
Special FX
Accessories
Build Your Own
Brands
Build Your Own
Build Your Own Palettes
Build Sets of 3 (Glitter & More!)
Build Stencil Sets
Build Brush Sets
Build Sponge Sets
Face Paint Sets
Build Sampler Packs
Bling Face Paint Kits
New Products
New Products Of The Month
New Kraze Products
New Single Color Cakes
New Split Cakes
New Palettes & Kits
New Makeup
New Brushes, Sponges, Accessories
New Stencils, Tools & Accessories
On Sale
Overstock Sale
Cheap Face Paint
Cheap Special FX Items
Cheap Pressed Powder Makeup
Cheap Brushes & Sponges
Cheap Face Painting Tools
Cheap Tattoos & Stencils
Learn Face Painting
How To Face Paint FAQ
What's The Best Face Paint For Me?
Top 10 Safety and Hygiene Tips
Face Painting Design Gallery
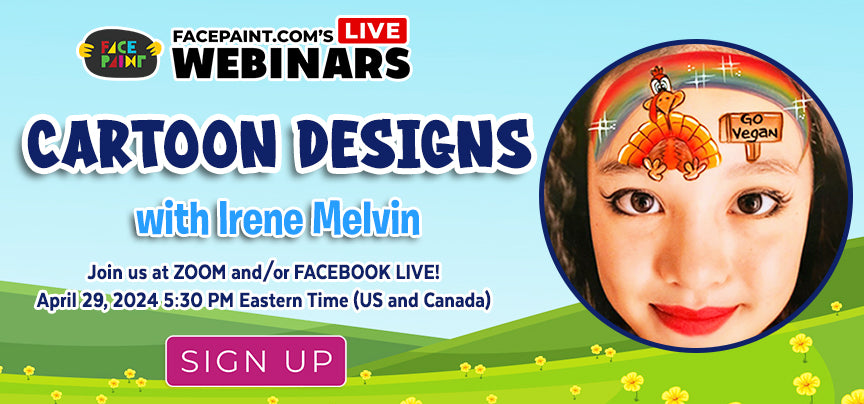
Webinars
Rewards
Contests
Shop Categories
Face Paints
Body Paints
Makeup
Glitter & Gems
Tattoos
Stencils
Brushes & Sponges
Balloons & Accessories
Special FX
Accessories
Build Your Own
Brands
Build Your Own
Build Your Own Palettes
Build Sets of 3 (Glitter & More!)
Build Stencil Sets
Build Brush Sets
Build Sponge Sets
Face Paint Sets
Build Sampler Packs
Bling Face Paint Kits
New Products
New Products Of The Month
New Kraze Products
New Single Color Cakes
New Split Cakes
New Palettes & Kits
New Makeup
New Brushes, Sponges, Accessories
New Stencils, Tools & Accessories
On Sale
Overstock Sale
Cheap Face Paint
Cheap Special FX Items
Cheap Pressed Powder Makeup
Cheap Brushes & Sponges
Cheap Face Painting Tools
Cheap Tattoos & Stencils
Learn Face Painting
How To Face Paint FAQ
What's The Best Face Paint For Me?
Top 10 Safety and Hygiene Tips
Face Painting Design Gallery
Webinars
Rewards
Contests
Login
Country
USD $
AUD $
CAD $
EUR €
JPY ¥
GBP £
USD $
Login
0
Cart
Search
Search...
Single Colors
Select Colors
Black
option>
Blue
option>
Brown
option>
Gold
option>
Green
option>
Neon
option>
Orange
option>
Pink
option>
Purple
option>
Red
option>
Silver/Gray
option>
White
option>
Yellow
option>
Palettes
Select Palettes
Ben Nye
Cameleon
Diamond FX
Elisa Griffith
European Body Art
Face Paints Australia
Fusion Body Art
FAB
Global Colours
Graftobian
Kraze FX
Kryolan
Kryvaline
Mehron Starblend
Paradise
PartyXplosion
Ruby Red
Snazaroo
Superstar
Tag
Wolfe
Split Cakes
Select Cakes
----1 STROKE CAKES----
Cameleon
Diamond FX
Diamond Custom
Fusion Body Art
Global Colours
Kraze FX
Kryvaline
Sillyfarm
TAG Body Art
TAG Custom
------SPLIT CAKES------
Diamond FX
Fusion Body Art
Global Colours
Kraze FX
Kryvaline
Kryvaline Creamy
Paradise Prisma
PartyXplosion
Sillyfarm
TAG Body Art
Wolfe
SPLIT CAKE PALETTES
Glitter Gems
Select Glitter
By Brand
Polyester Glitter
Glitter Gel
Glitter Sticks
Biodegradable Glitter
Shimmer Powders
Metallic Powder
Build Glitter Kits
Bling Kits
Face Gems
Glitter Tattoos
Glitter Eyeshadow
Glitter Applicators
Glitter Glue Accessories
BRANDS
FEATURED PRODUCTS
Quick View
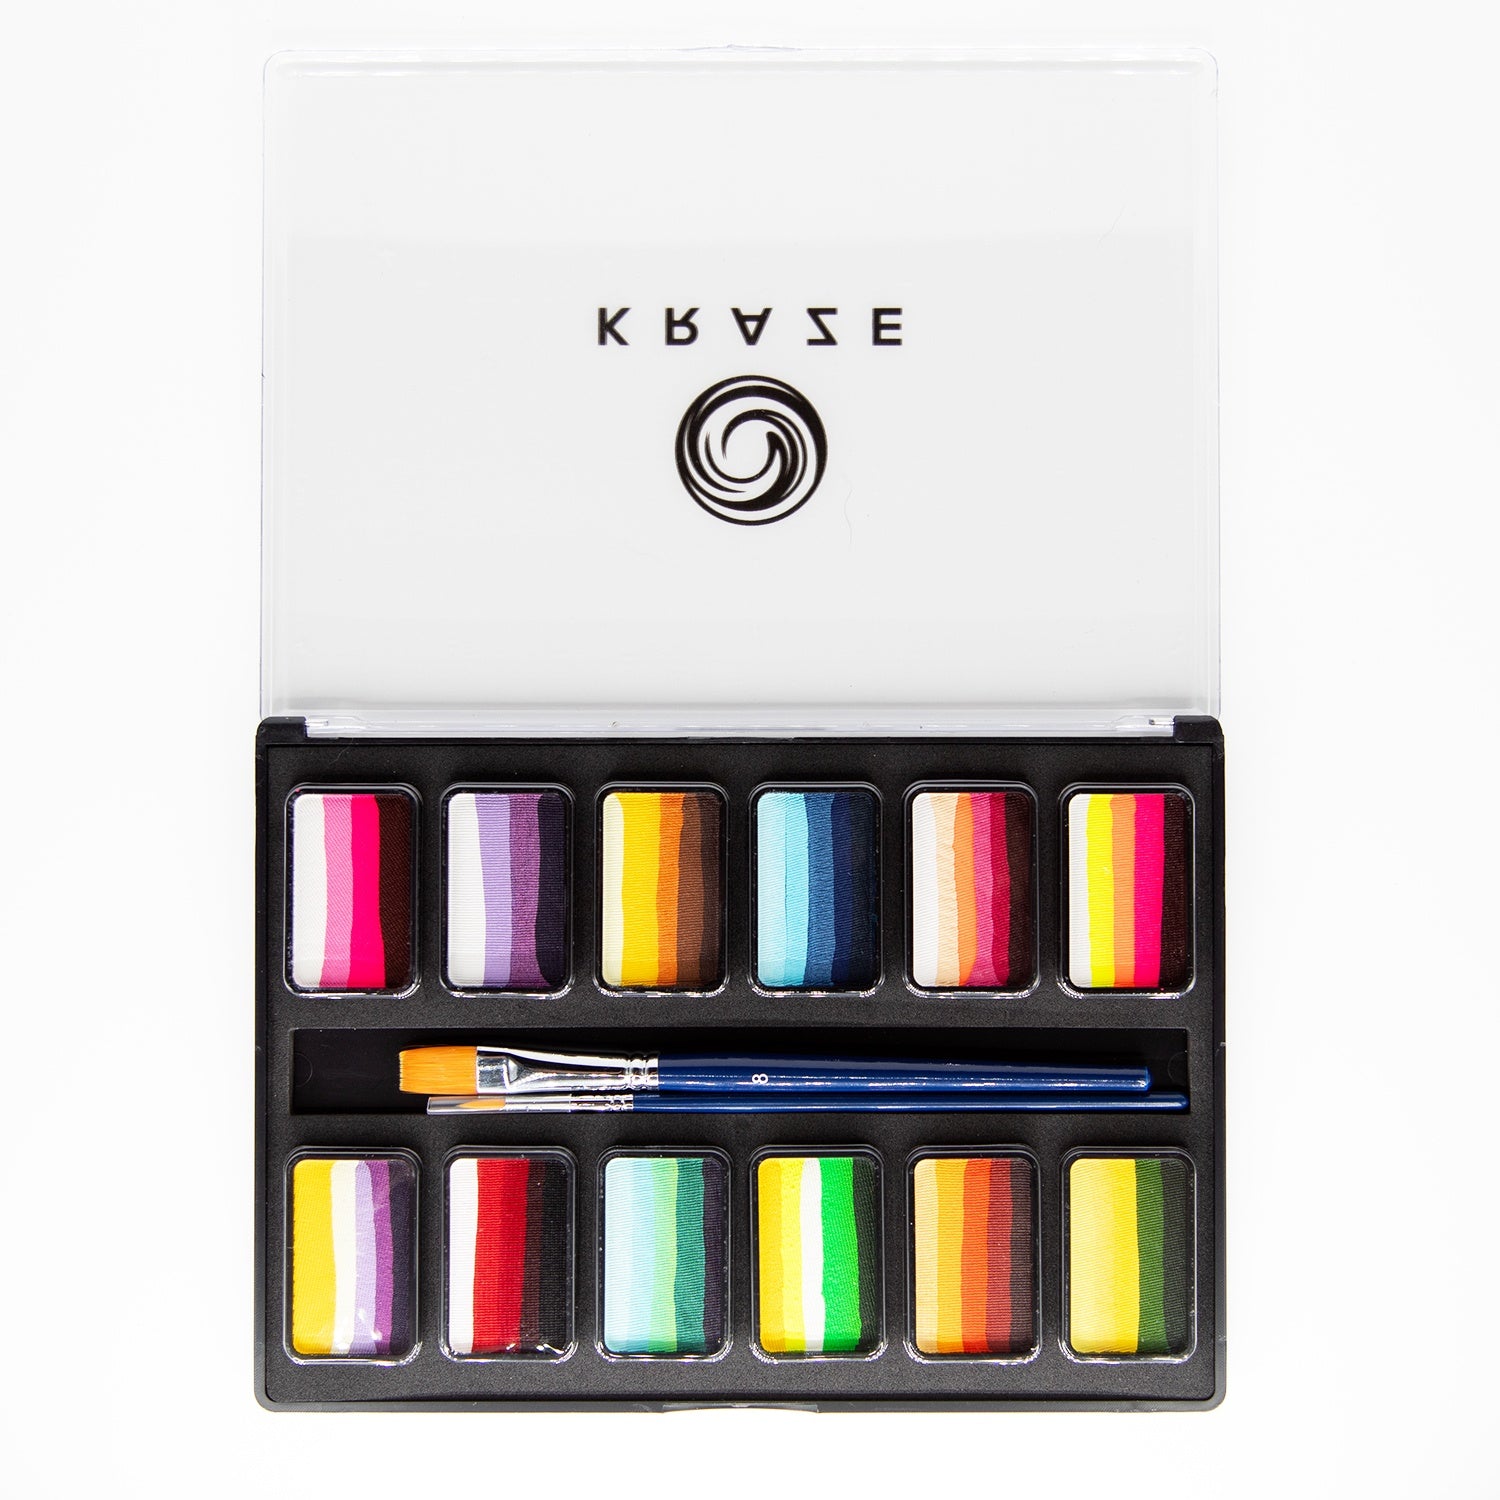
Kraze FX Flower Bouquet Split Cake Palette by Linnea Novak
$56.50
12 reviews
Quick View
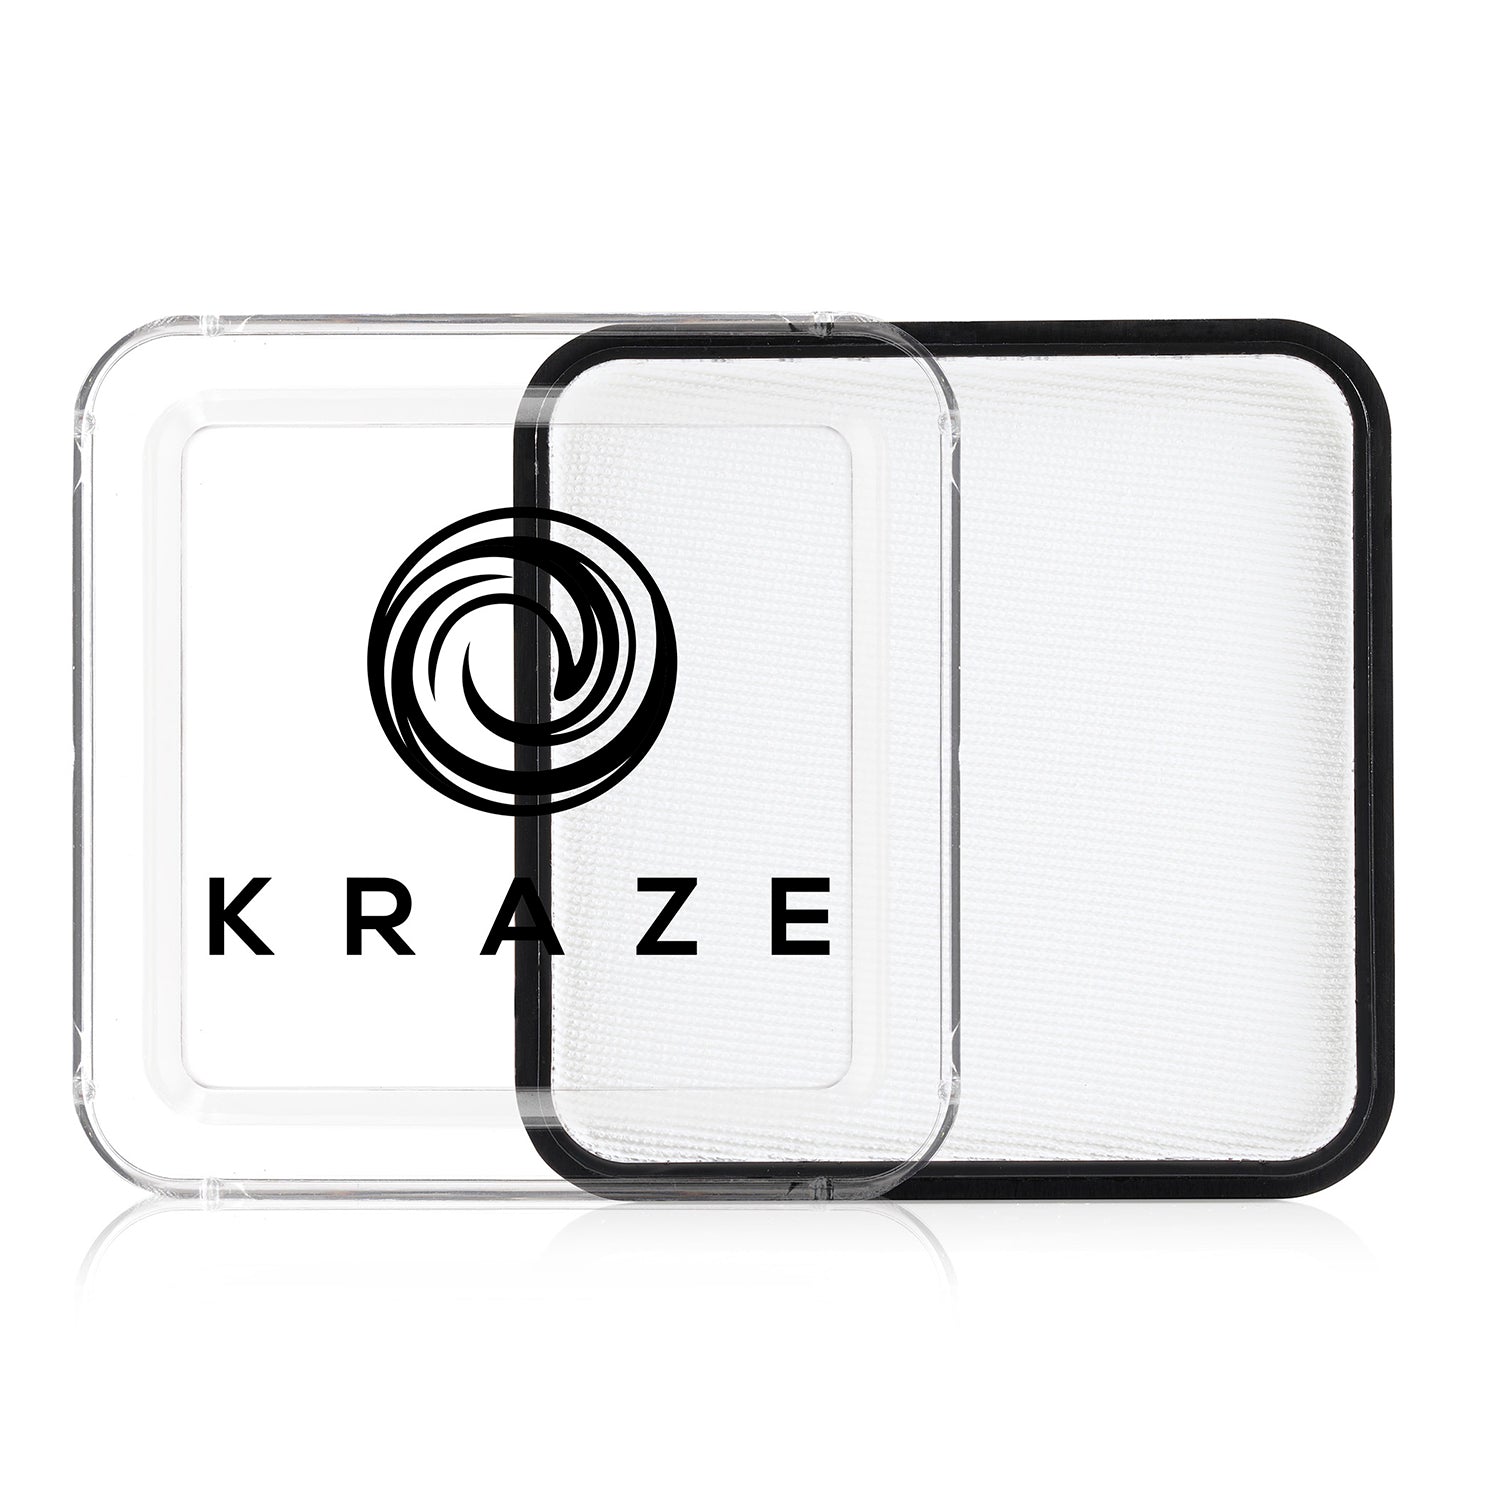
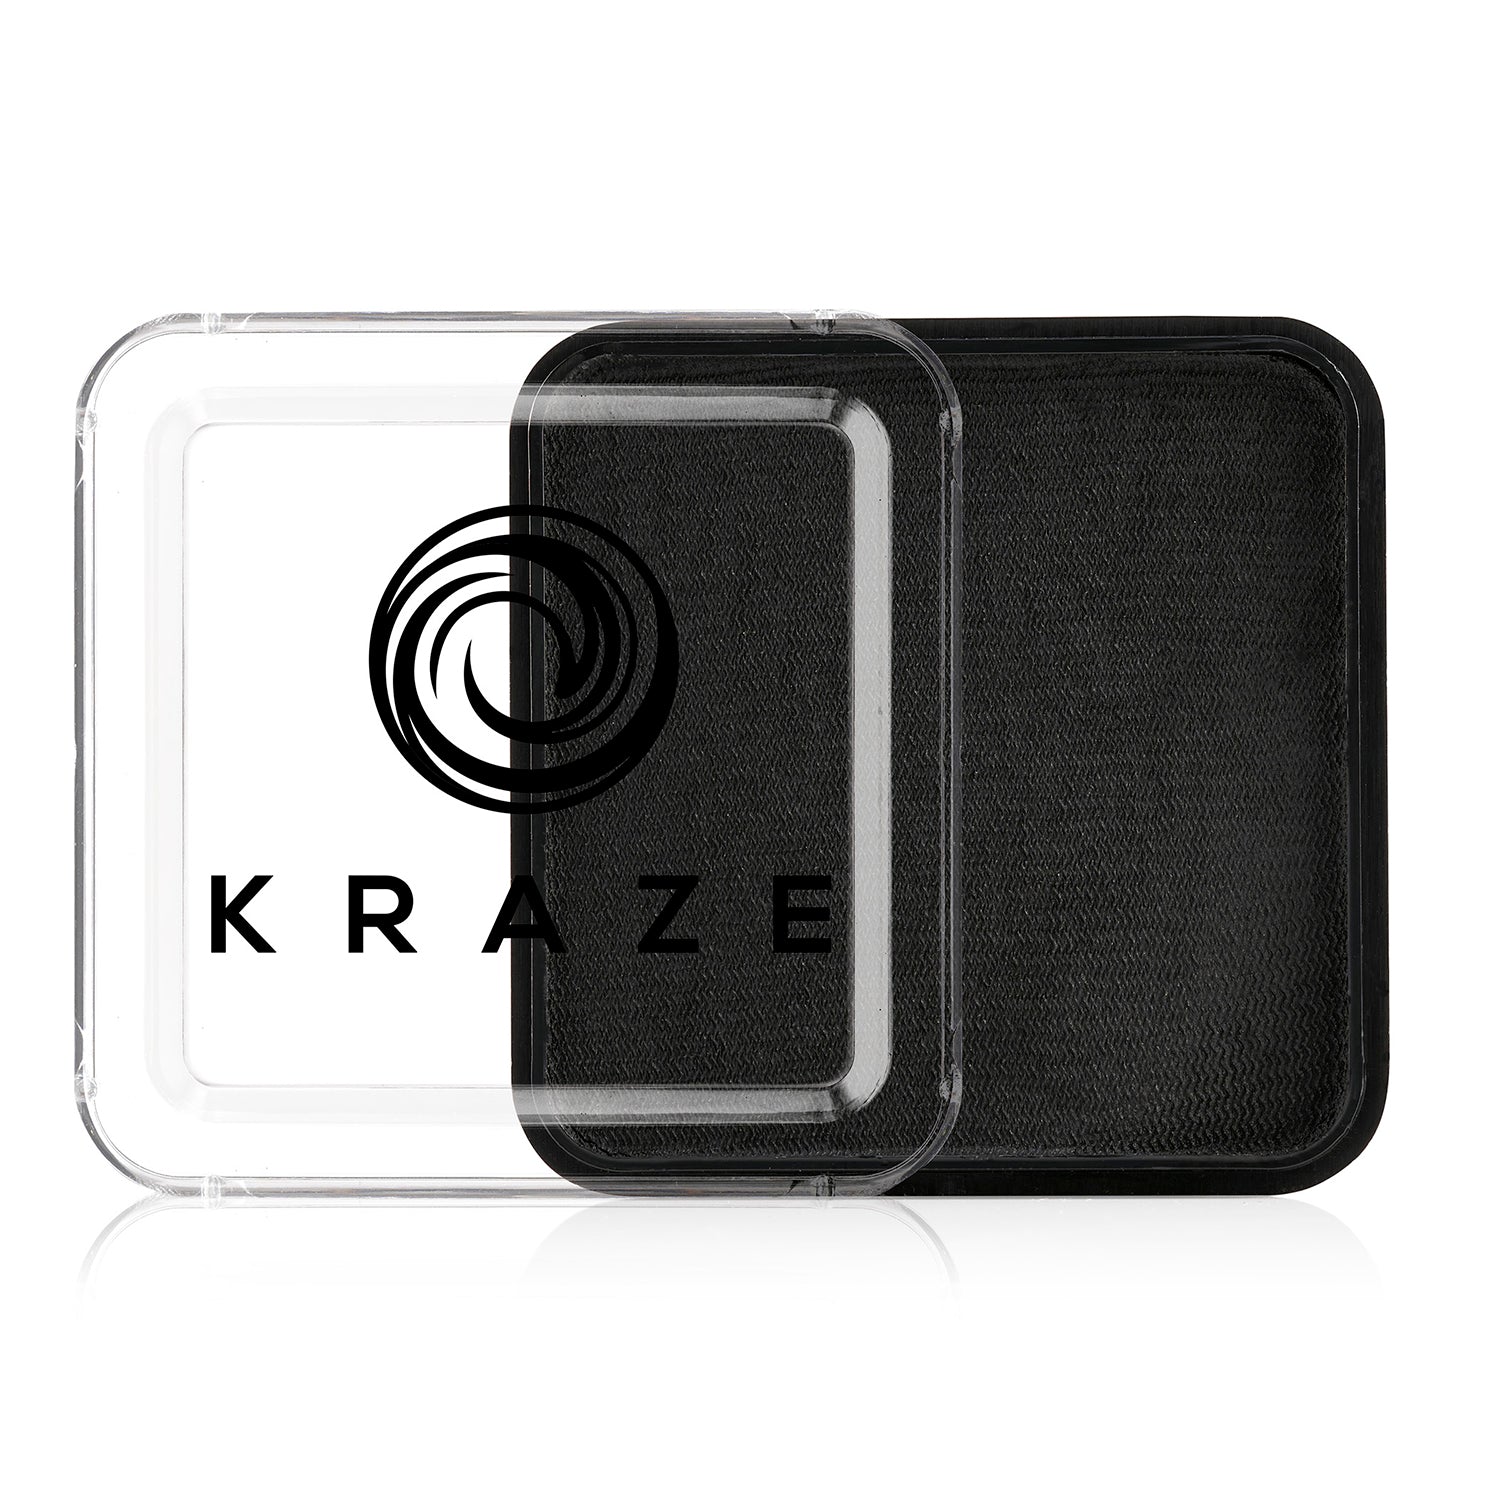
Kraze Square - White (25 gm)
$6.00
$6.50
1 review
Quick View
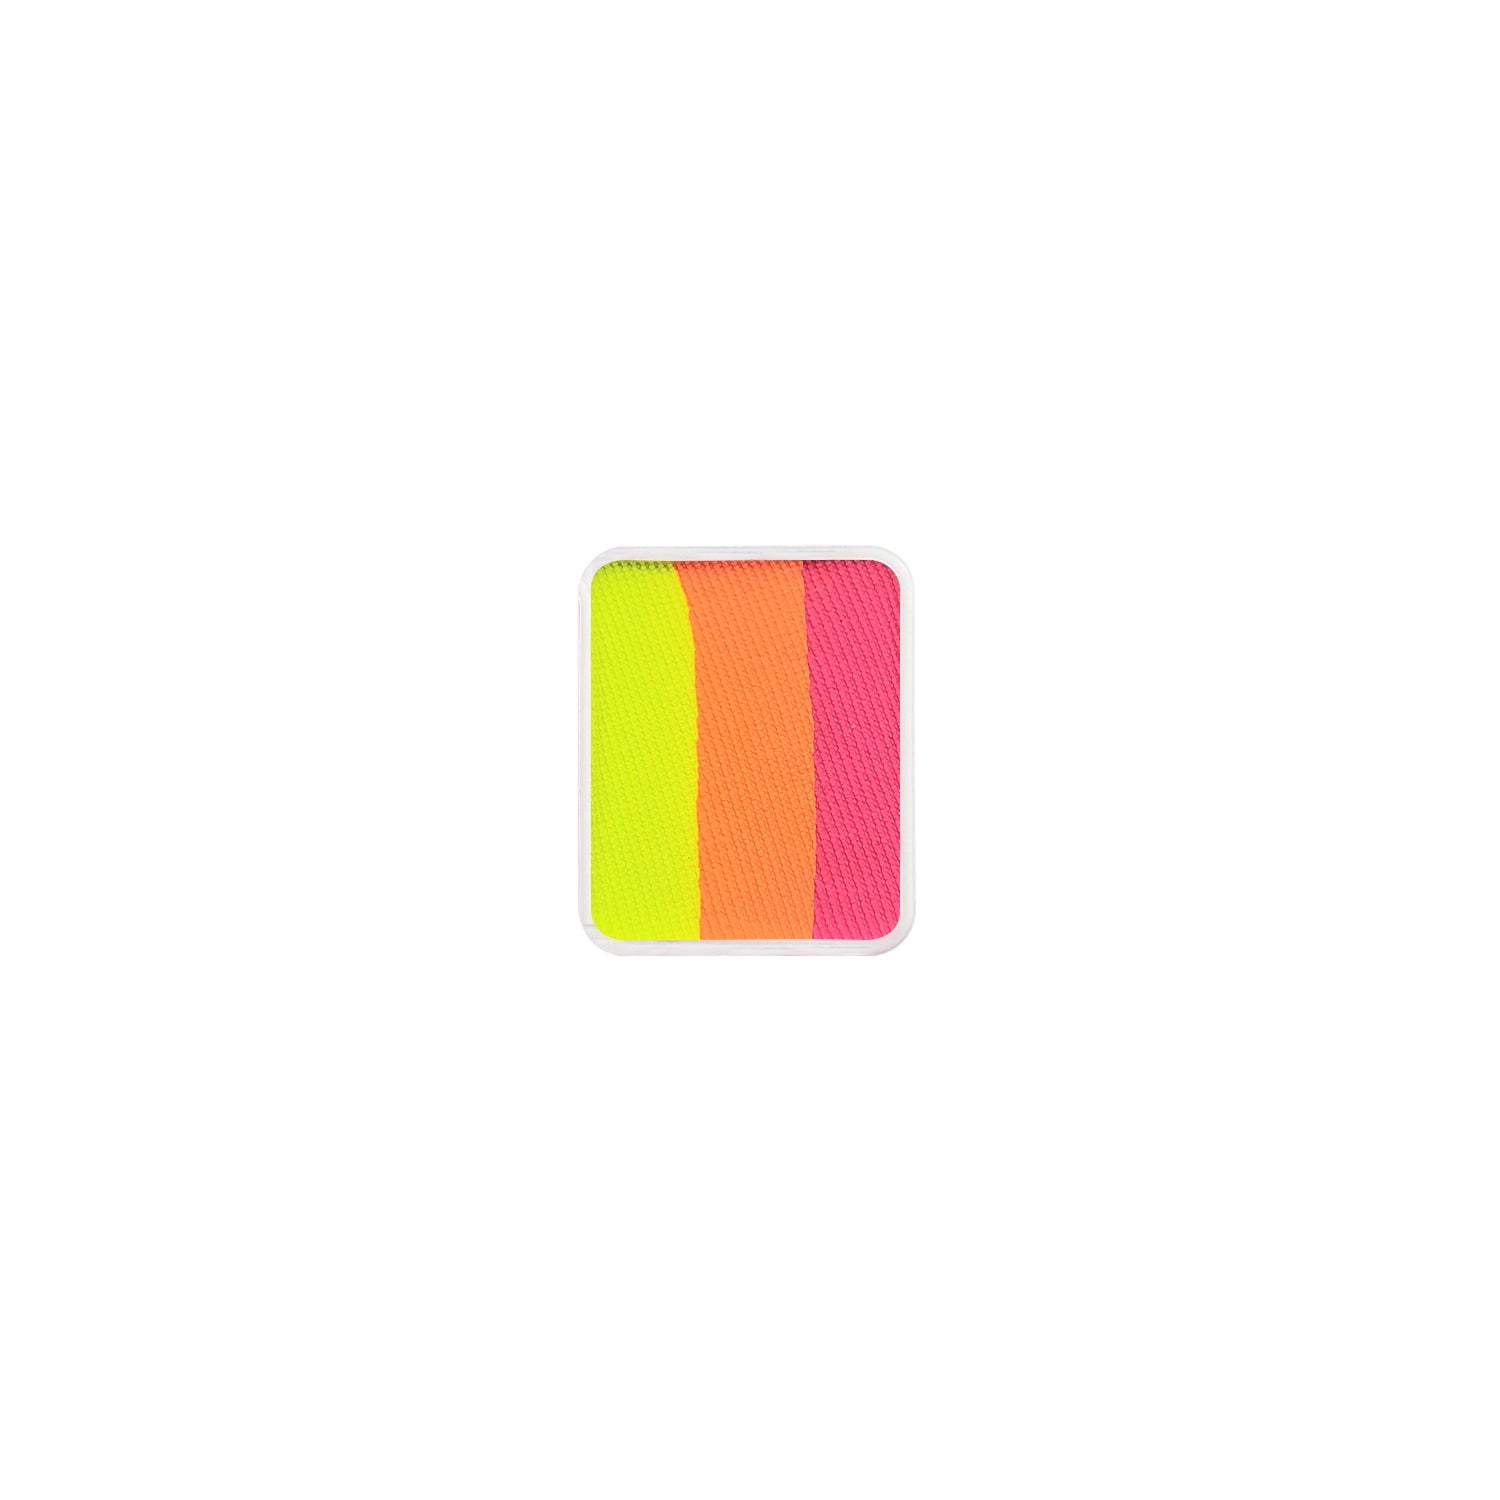
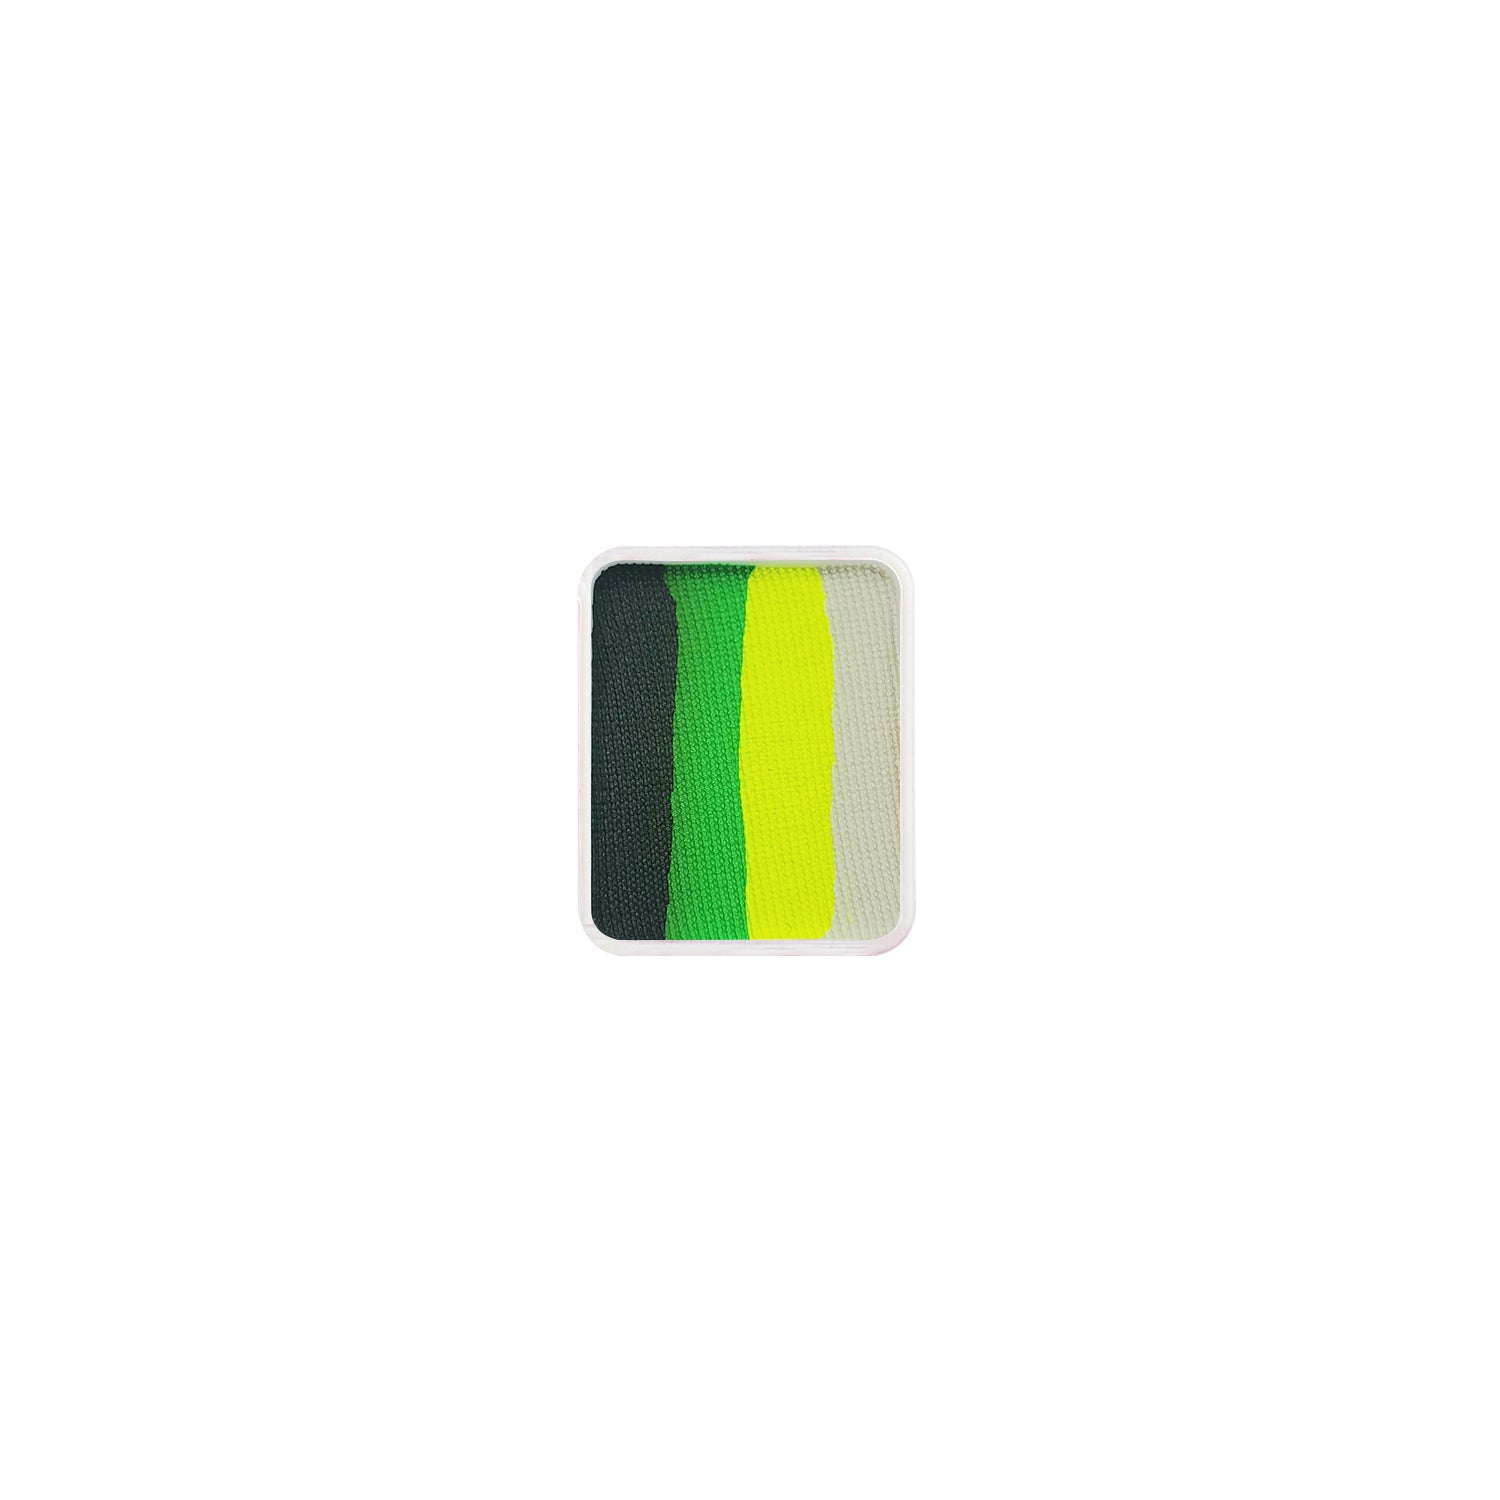
Kraze FX One Stroke Palette Refill - Bright Neon (0.21 oz/6 gm)
$2.24
No reviews
Quick View
Kraze Dome Cake - Neon Rave (25 gm)
$12.00
$12.50
3 reviews
Quick View
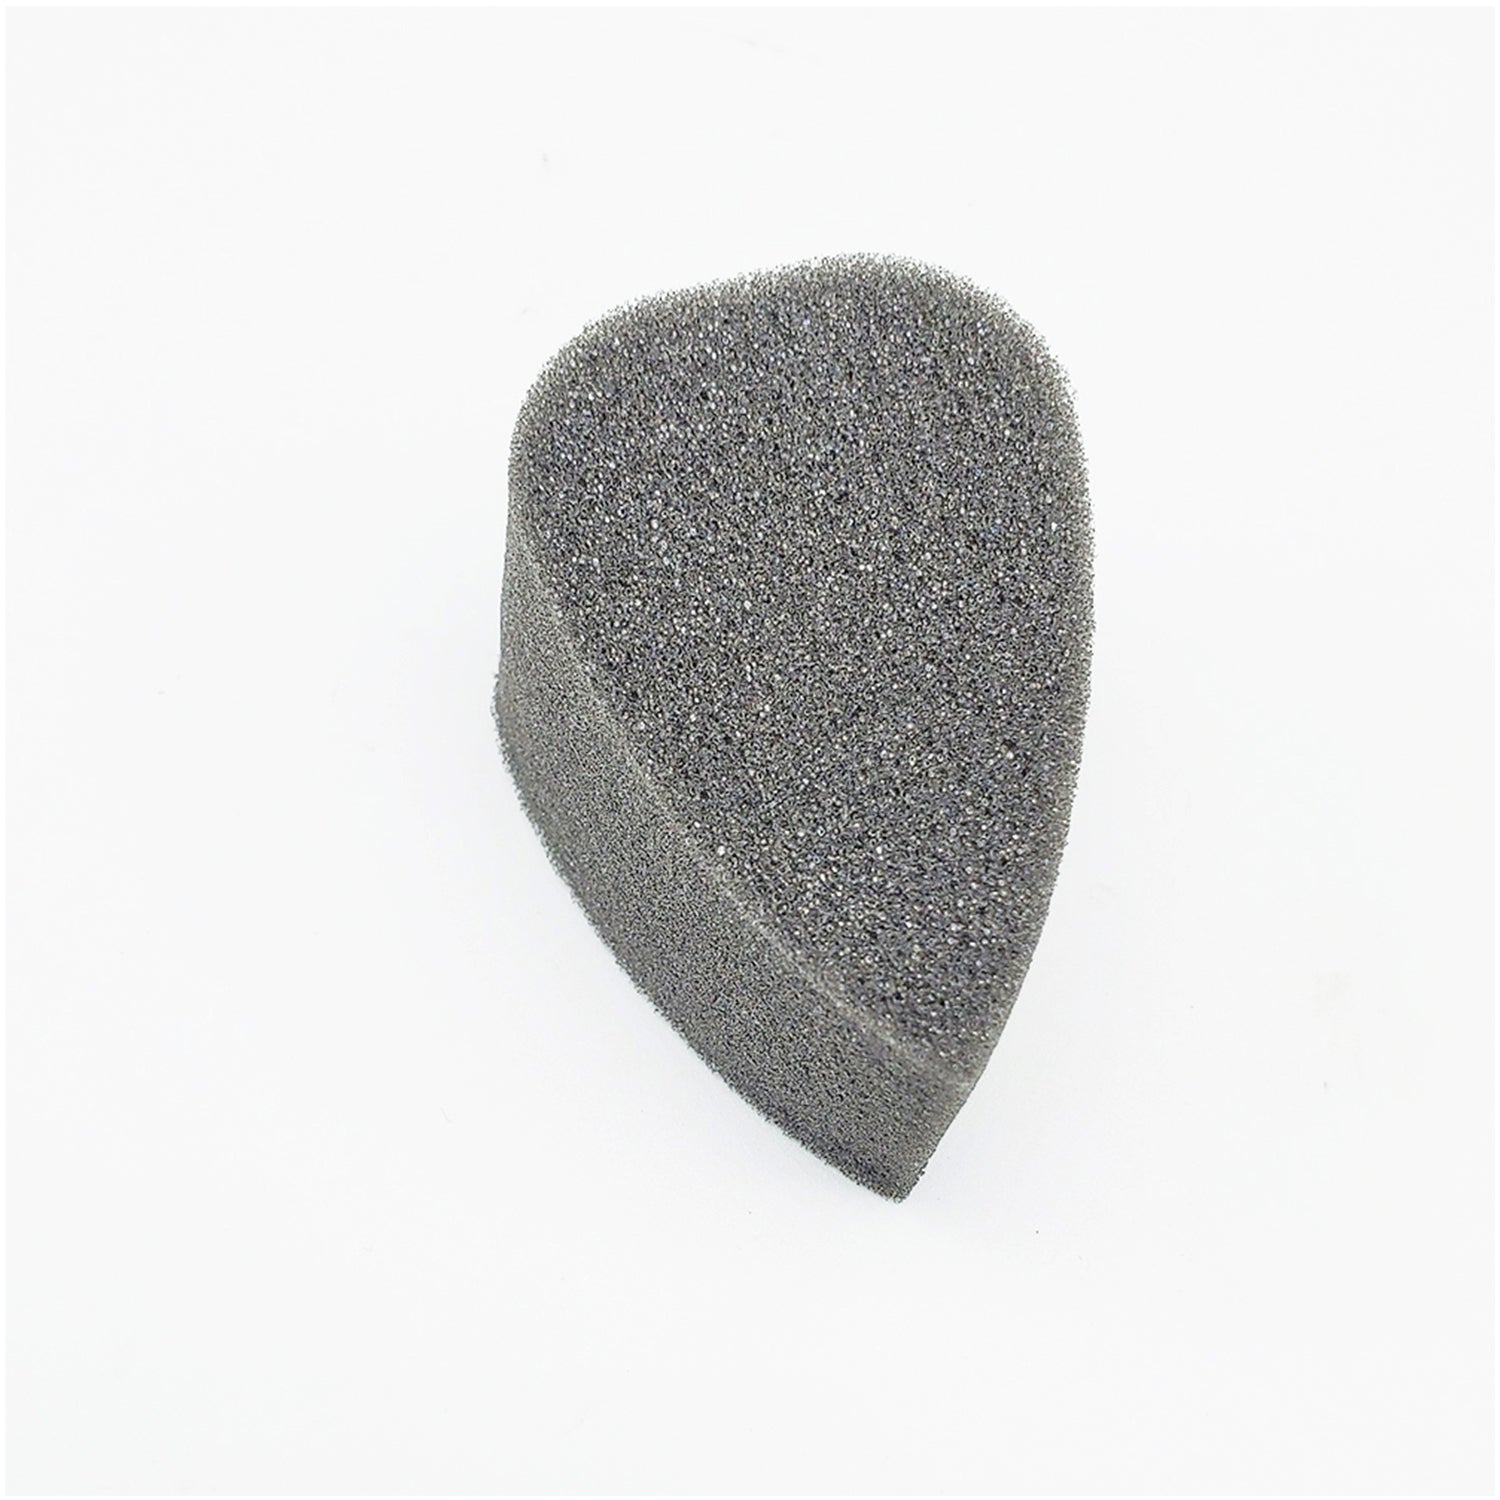
Kraze FX High Density Petal Sponge
$1.00 - $8.00
11 reviews
Quick View
Kraze Square - Black (25 gm)
$6.00
$6.50
2 reviews
Quick View
Kraze FX One Stroke Palette Refill - Neon Glow (0.21 oz/6 gm)
$2.24
No reviews
Quick View
Kraze FX One Stroke Palette Refill - Unicorn Shimmer (0.21 oz/6 gm)
$2.24
1 review
Quick View
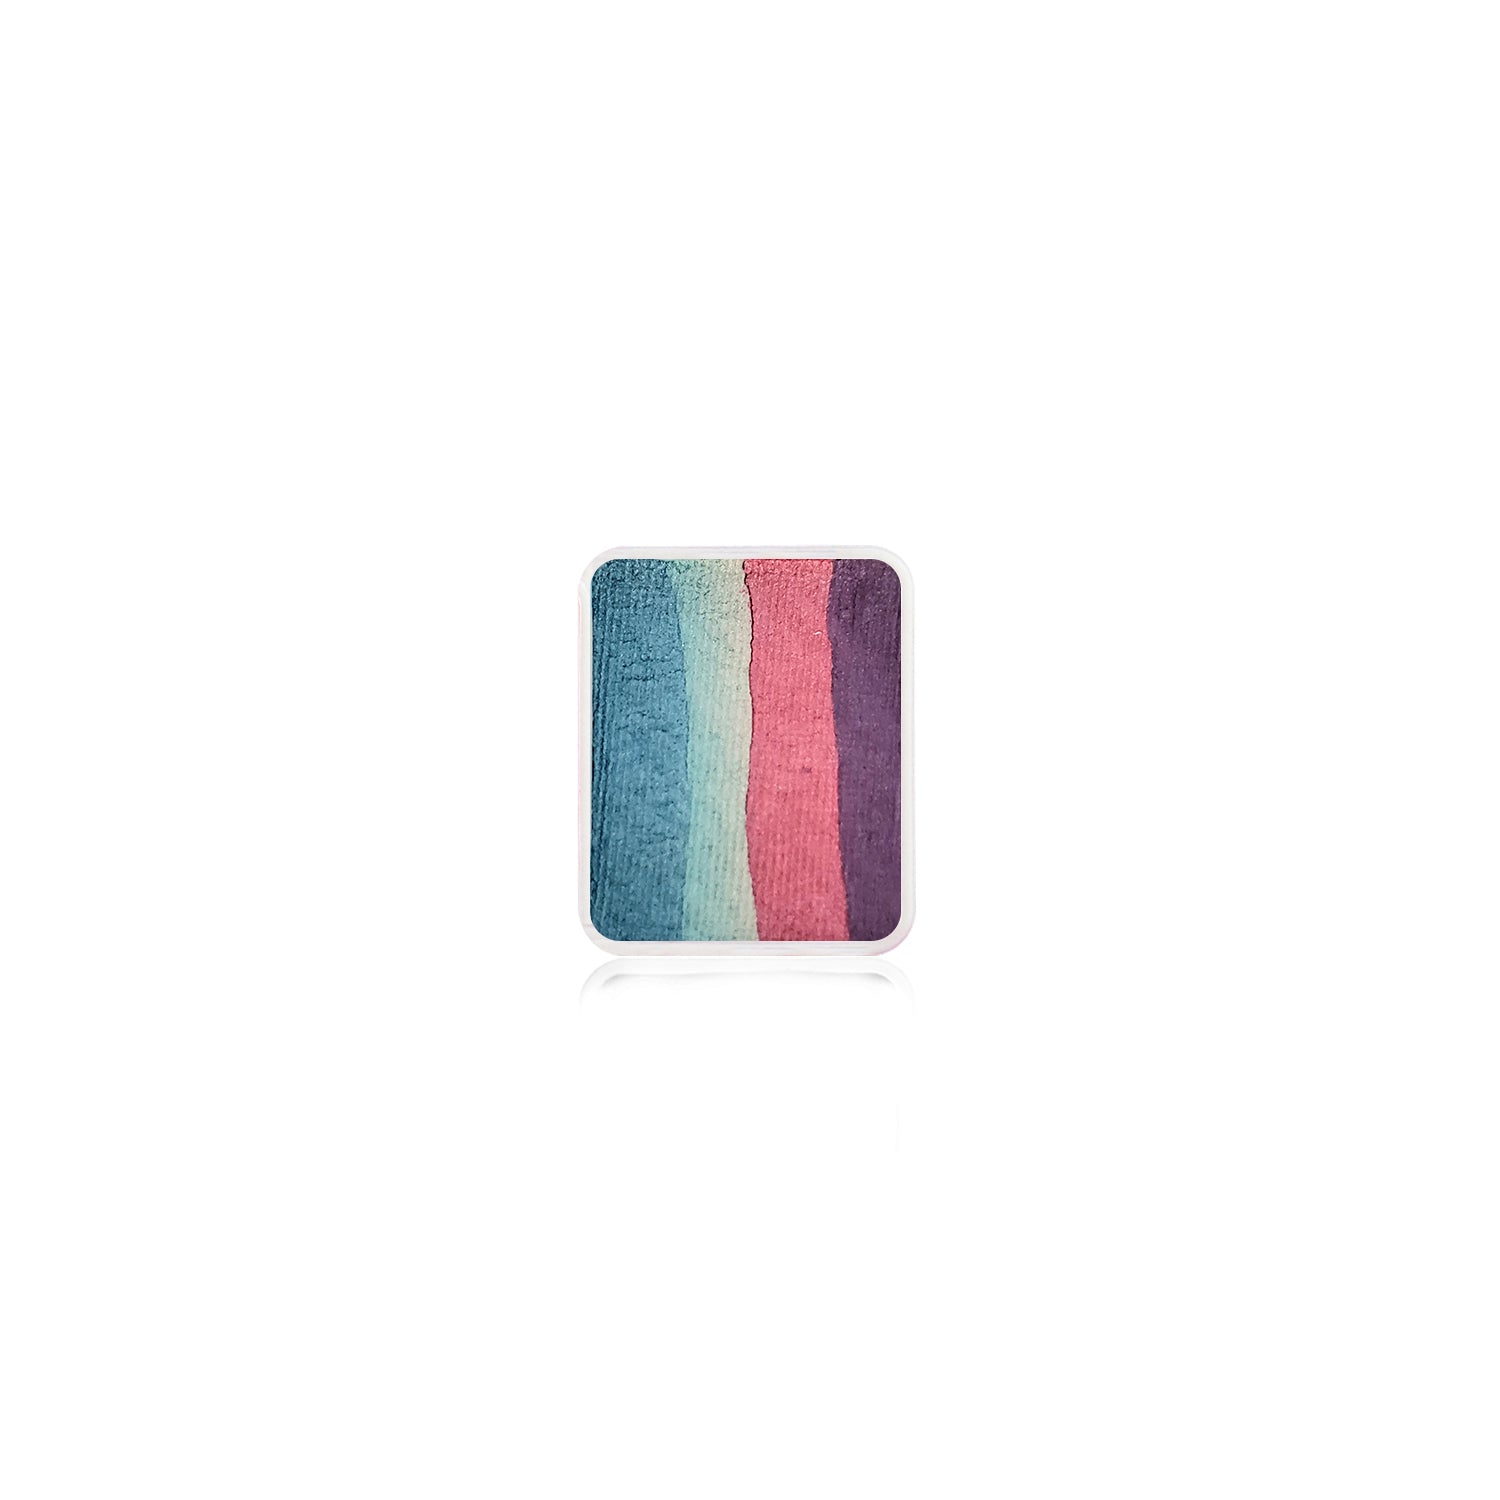
Kraze FX One Stroke Palette Refill - Meadow (0.21 oz/6 gm)
$2.24
No reviews
Quick View
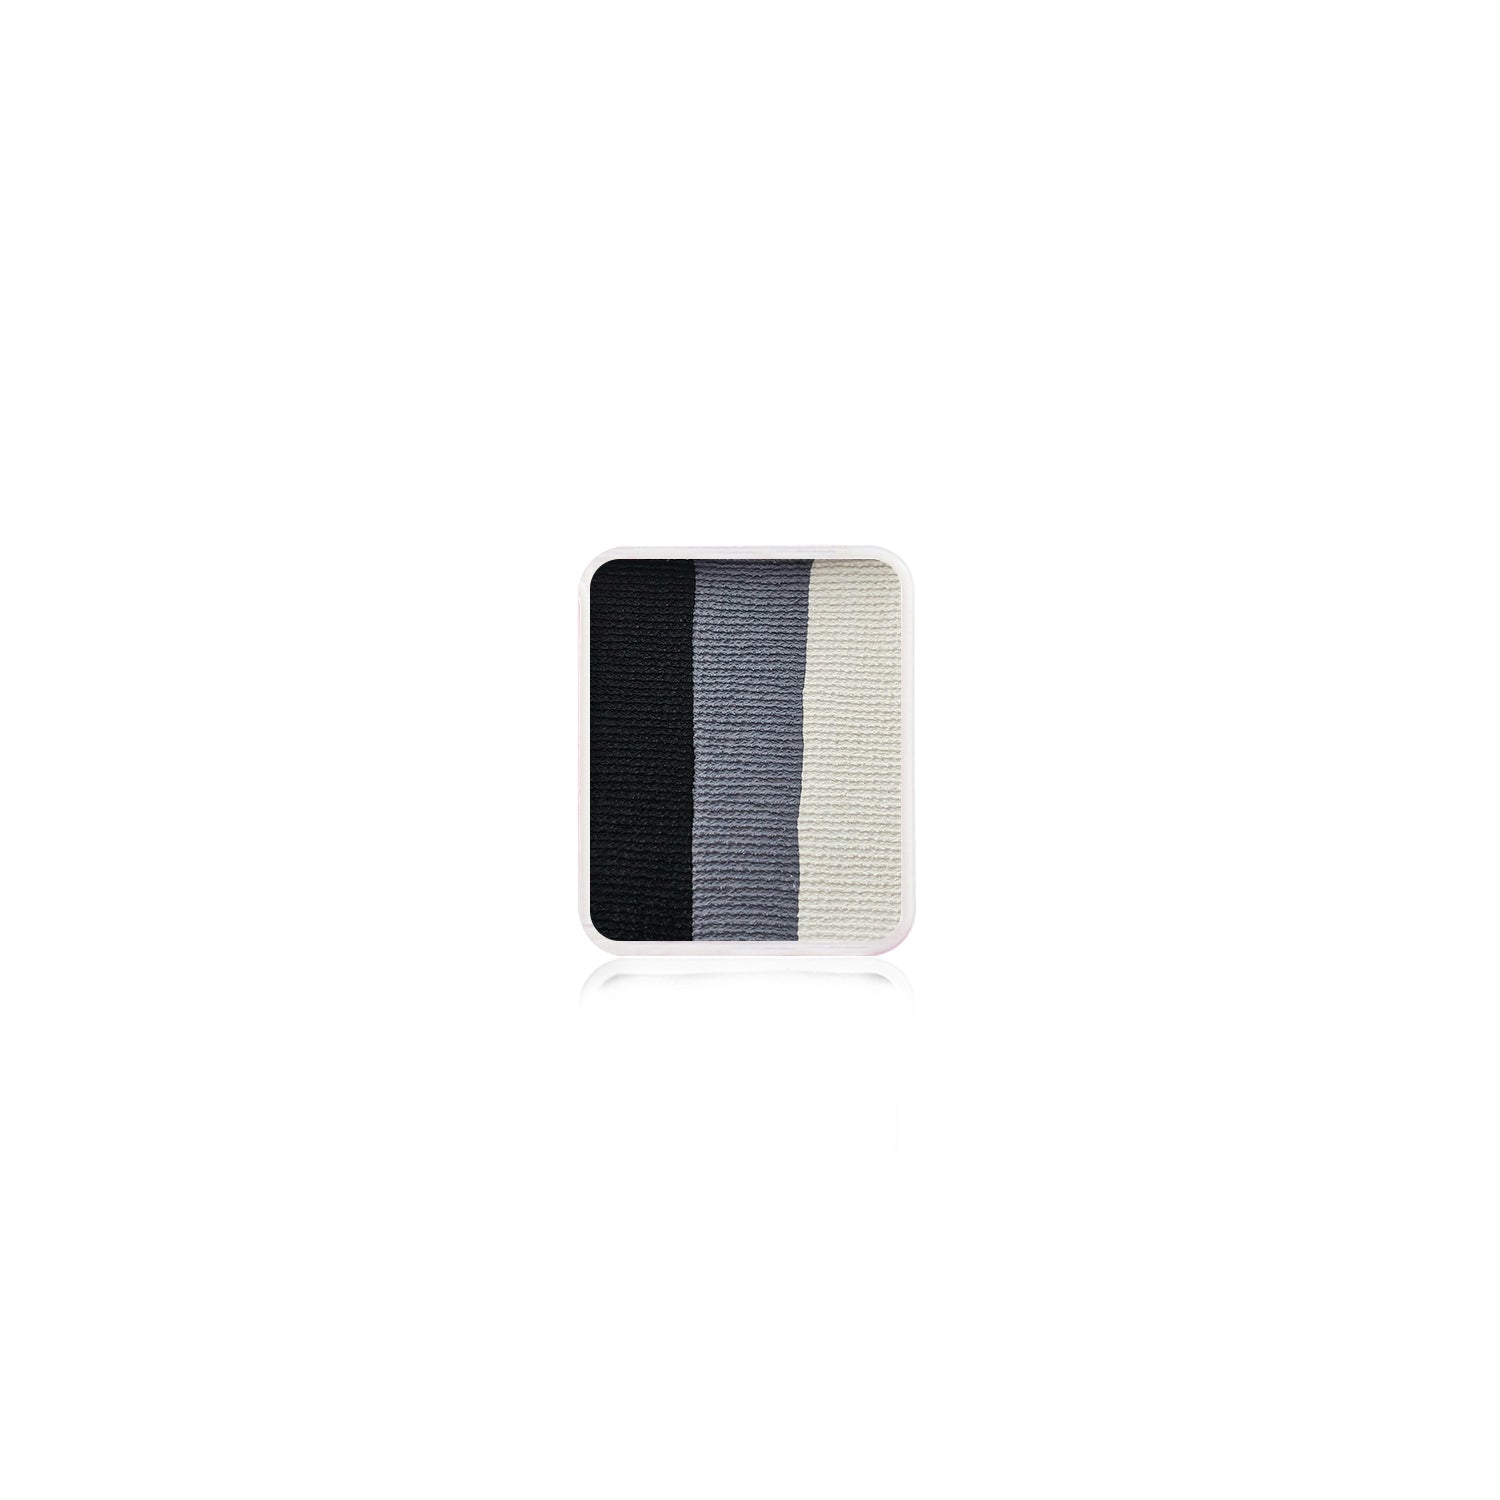
Kraze FX One Stroke Palette Refill - Shark (0.21 oz/6 gm)
$2.24
No reviews
CATEGORIES
Face & Body Paints
Glitters & Gems
Stencils
Balloons & Accessories
Special Effects
Brush & Sponges
SEE OUR LATEST BLOG POSTS
Flower Bouquet Palette Review by Linnea Onnerby Novak
October 09, 2023
2 min read
Read more
Girly Floral Masks with Jacqueline Howe
August 28, 2023
1 min read
Read more
Fantasy Designs Webinar with Tamina
May 19, 2023
1 min read
Read more
Search...